Wednesday, November 30, 2011
Northwood Cards

Wednesday, November 16, 2011
No time to play
I have been slacking on my blog. So much going on, it will only get worse as we close in on the Holidays. I spent the last two weeks getting things ready for the sidewalk sale, snowman soups, snowman poops, reindeer poops and reindeer food, even turkey poops.. We have a few left over if anyone needs some as gifts for secret sisters or secret pals.
Now I am prepping for my class on Saturday. Ten people making ten cards each, plus two kits to take home. That's a lot of cards. The glitter paper from American Crafts is so thick, I almost broke my cutter on it. I had to take it apart and re-align the blade as it was off track. I am now using the old Fiskars chipboard cutter to do the glitter paper. It seems to do a good job. I will have it all done by Friday evening, or I will stay here until I do.
Next, I have a class Tuesday evening that I need to prep for. It is only 3 cards, but it will involve a lot of heat embossing. To keep the class moving, I have to do that a head of time or we will be here all night. Can't have that.
On top of that, Carl is preparing to go visit his son for two weeks. :)
That means I have to shop and pick up a few things he will need, plus make sure he gets his laundry done. I thought Brian was driving down Sunday to pick him up, but now Carl tells me he and his family are driving down Friday and leaving Sunday. Good grief, are they planning to come by my house? it will take 3 months for me to get it ready for company.. O_o
Ok, enough whining. I can do that in my sleep.. literally. I will have to. Small price to pay for two weeks peace and quiet.
Enough whining, back to work.
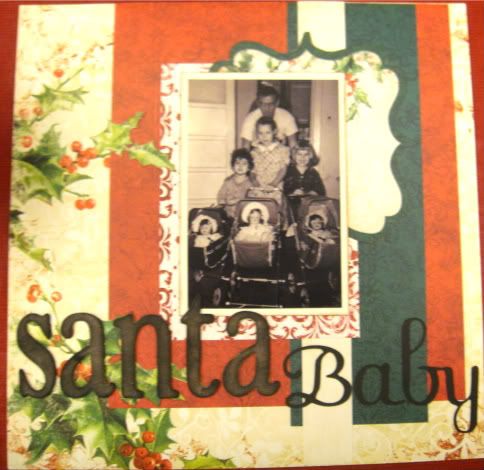
 This is a 12 x 12 scrapbook page I made for a sample for the store. For inspiration, I used an old Christmas 5 x 7 photo of me and 2 of my sisters with my Dad in the 1950's. This is one of my favorite Christmas photos of us.
Don't forget to stop by Priceless Scrapbooks and pay me a visit.
Now I am prepping for my class on Saturday. Ten people making ten cards each, plus two kits to take home. That's a lot of cards. The glitter paper from American Crafts is so thick, I almost broke my cutter on it. I had to take it apart and re-align the blade as it was off track. I am now using the old Fiskars chipboard cutter to do the glitter paper. It seems to do a good job. I will have it all done by Friday evening, or I will stay here until I do.
Next, I have a class Tuesday evening that I need to prep for. It is only 3 cards, but it will involve a lot of heat embossing. To keep the class moving, I have to do that a head of time or we will be here all night. Can't have that.
On top of that, Carl is preparing to go visit his son for two weeks. :)
That means I have to shop and pick up a few things he will need, plus make sure he gets his laundry done. I thought Brian was driving down Sunday to pick him up, but now Carl tells me he and his family are driving down Friday and leaving Sunday. Good grief, are they planning to come by my house? it will take 3 months for me to get it ready for company.. O_o
Ok, enough whining. I can do that in my sleep.. literally. I will have to. Small price to pay for two weeks peace and quiet.
Enough whining, back to work.
Don't forget to stop by Priceless Scrapbooks and pay me a visit.
Saturday, October 15, 2011
Quilted Card
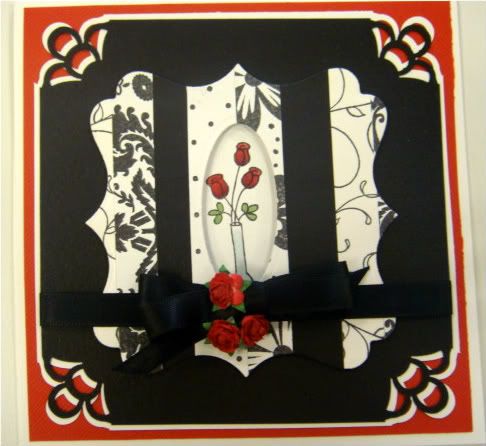
For the card front, I used a plain white cardstock, cut 4 1/2 x 4 1/2 and run through a xyron. I had pre-stamped white cardstock, using black versafine ink, using various background stamps so I would have different patterns. I cut these stamped pieces into strips, varying from 1/4 to 5/8 inches in width. I also cut a few pieces of the black cardstock so I could add them into the mix. I then placed the different pattern strips side by side, all the way across until completely covered. I die cut the assembly using a Spellbinder label die. I used a small long oval die to cut out the center aperture. I stamped a small vase of flowers on white cardstock and colored it with Copics. I cut it out slightly bigger than my oval cut out and used pop dots to pop it up. I mounted the quilted piece to the black background. I tied a black satin ribbon, about 1/2", vertically around my black background assembly. I added a black satin bow to the tied on piece of ribbon. I added three white mini roses from Magnolia to the center of the bow. I colored them red using a red copic..
Thursday, October 13, 2011
Another Iron Works Card
Wednesday, October 12, 2011
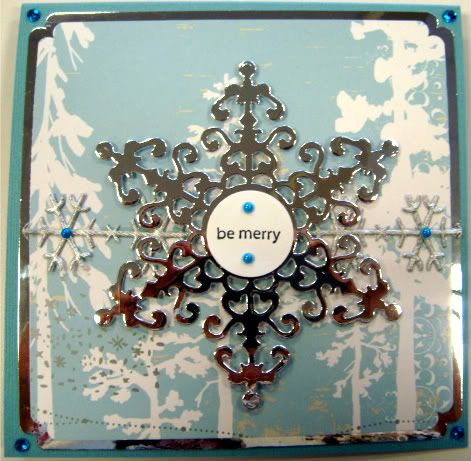
Christmas Blues
Saturday, October 8, 2011
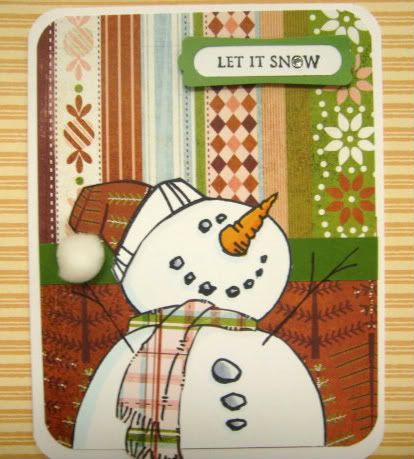
Stampendous Snowman
Friday, October 7, 2011
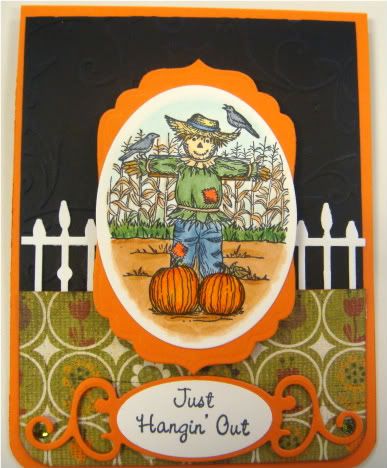
Fall Scarecrow Card
Subscribe to:
Posts (Atom)